How to Improve your PLC Logic after migrating to TIA Portal: 8 Optimization Tips
Feb 27, 2024
So you've just finished migrating your Step 7 PLC application from Simatic Manager to TIA Portal (which is an awesome accomplishment by the way!) and now it's time to sit back and relax, right? What if I told you that you're only half way...?
In this blog post, I'm going to share with you 8 optimization tips for your PLC logic post-migration that will improve the structure of your code, send the performance of your old code through the roof, and reduce the necessary resources needed for running your application on S7-1200/1500 controllers. Even if you're not migrating code but simply building a new TIA Portal PLC application, these optimizations will help you create a leaner, better performing application (and you want to keep reading all the way till the end, because I kept the best tip for last!).
So if you're considering migrating a Siemens project or you're simply looking to elevate your PLC programming skills to the next level, this post is for you.
OPTIMIZATION 1 - Enable Optimized Block Access (FBs, FCs and DBs)
When migrating blocks - FBs, FCs, DBs - from Simatic Manager to TIA Portal, they are set to non-optimized as a default. The reason is that all blocks in Simatic Manager are non-optimized (there's simply no 'optimized' option), so after migration they remain non-optimized.
Makes sense? Now let's go and do something about that.
So now you might say: "Well Hans, why should I bother optimizing my blocks? My application will run anyway, right?". Yes, you are absolutely right, it will run. But I have the feeling that you're the type of PLC programmer that likes to be on top of their game, you're not just looking for 'getting it to run'. You want to build logic that takes full advantage of the TIA Portal platform by optimizing performance and saving resources. And that's exactly what you get by optimizing your blocks.
Take a look at the screenshot below. It shows the difference between data organization in a standard block vs. data organized in an optimized block.
 Standard vs Optimized data
Can you see how all these empty spaces on the left are being eliminated on the right? Data in an optimized block is rearranged in such a way that memory space is preserved = you'll have less wasted memory.
A second reason to optimize your blocks is that optimized blocks use 'Little-Endian' (least significant byte at the smallest address) where standard blocks use 'Big-Endian' (most significant byte at the smallest address). So why is this important? Well, S7-1200/1500 processors work with 'Little-Endian' internally. This means no conversion is needed when using optimized blocks = you'll gain performance.
And finally, here's on more reason to optimize your data blocks in TIA Portal. A classic Step 7 DB is limited to 768Kb. An optimized DB in TIA Portal can contain up to 16Mb of data space (depending on the type of PLC controller). So you'll have much more data volume to work with within one DB.
I have personally run into problems multiple times in Simatic Manager where I had to split data over 2 or 3 DBs simply because the data wouldn't fit in a single DB. You'll never run into those type of problems if you optimize your blocks in TIA Portal.
Now that I shared with you 3 reasons why you absolutely should use optimized blocks in your TIA PLC applications, let's get practical and see how it's done. The screenshot below shows the steps for enabling optimized block access for a Function Block.
STEP 1 Right-click on the block
STEP 2 Select 'Properties...'
STEP 3 Click on 'Attributes' under the 'General' tab
STEP 4 Enable 'Optimized block access'
 Activating optimized block access
The same 4 steps apply to any FB, FC, or DB in your PLC program. Now let's take a look at a second optimization tip that will make your programming life in TIA Portal much easier.
OPTIMIZATION 2 - Apply Automatic Block Numbering (FBs, FCs and DBs)
If you've worked with Simatic Manager before, then you probably know that each time you're creating a new block - FB, FC or DB - you have to check first if the hardware address is available. If you want to create for example a new function block FB25, you'd have to start by checking if hardware address FB25 is still available. Hardware addresses play a major role in how classic Step 7 operates within Simatic Manager.
Upon migrating your classic S7 project to TIA Portal, you'll find that all your blocks are initially configured with a fixed hardware address, set through a "manual assignment". The fix for this is straightforward: you should switch from manual to automatic assignment of addresses. And this is how you do it:
STEP 1 Right-click on the block
STEP 2 Select 'Properties...'
STEP 3 Click on 'General' (under the 'General' tab)
STEP 4 Enable 'Automatic' numbering
 Enabling automatic block numbering for a function block
Same as with the optimized block access of the previous tip, automatic block numbering is available for function blocks (FBs), functions (FCs), and data blocks (DBs). Symbolic addressing is the way to go, you should not have to worry about where your data is stored. Make it easy on yourself and let TIA automatically decide which hardware addresses to assign to your blocks. You'll avoid duplicate address errors during compilation while simultaneously cutting down on programming time. Ready for the next tip?
OPTIMIZATION 3 - Replace System Memory with Structured Data
Almost on a daily basis, I see people still using system memory like M5.4, MD20, MW16 etc... in their TIA PLC logic. In classic Step 7 (Simatic Manager), this use of system memory was a widely accepted procedure. However in TIA Portal, for the love of all things logical, stop doing that.
In case you're wondering why, here are a 3 important reasons why you should stop using system memory in your TIA PLC applications:
Hardware Dependency
System memory is hardware dependent. You always want to create PLC applications as independent of the hardware as possible. This creates re-usability of program blocks.
Slower Accessing Speed
System memory is accessed at a slower rate by your S7-1200/1500 controller (compared to DB memory access).
Lack of Structuring Options
This is probably my favorite reason to never use system memory ever again - you cannot create structured data using system memory. You can only build single data types like booleans, integers, reals etc...
 Example of converting single system memory tags into a DB tag structure
I recommend organizing related system memory tags - like those representing machine states, recipe management tags, or alarm processing tags - into a user-defined data type (UDT) or a STRUCT type. Then, integrate these into a data block (DB). Now you've got a a streamlined block of data with fast access speeds and independent of the hardware that you're using. Another win!
OPTIMIZATION 4 - Replace Hardware Timers by IEC Timers
This piece of advice is closely related to the one before it. Once you've transitioned your Step 7 project to TIA Portal, it's recommended to eliminate any hardware-specific timers (for instance, %T4) and counters (like %C5), substituting them with IEC standard timers and counters through multi-instance calls. Striving for hardware independence in your PLC application as much as possible enhances its reusability.
 Example of a hardware timer and counter
The above screenshot features tag declarations for a hardware timer (%T4) and a hardware counter (%C10). The screenshot below displays an IEC timer, called inside a function block using a multi-instance (= a block instance embedded within the parent block's data).
 Example of a timer called with a multi-instance
The reason behind avoiding hardware timers and counters mirrors the reasons for steering clear of system memory: they depend heavily on hardware, are slower to access, and pose significant challenges to structuring effectively.
On the topic of structure, there is one more important reason to avoid hardware timers/counters in your PLC logic. Let's first get clear on one thing - timers and counters should only be called inside a Function Block (FB).
- It does not make sense to call a timer or counter in an Organization Block (OB) since OBs are designed to initiate various parts / modules / sections of your application.
- Functions (FCs) serve two main purposes: they either initiate the calling of other blocks, or they act as containerized, reusable blocks of logic - such as scaling the output of a temperature sensor or computing an average value.
So what's left? You got it - the Function Block (FB).
Now, if you're on board with the idea that timers/counters should exclusively be used within a Function Block (FB), wouldn't it also make sense to you that these timers/counters ought to be called via a multi-instance approach rather than a hardware address? A multi-instance is part of the FB block interface, allowing you to transfer the block to a different project without facing any issues of inconsistency or errors after compilation.
Get rid of your hardware timers and counters, the sooner the better.
OPTIMIZATION 5 - Disable the ENO Output for Instructions
We're half-way, thanks for sticking around! I still got 4 more ways for you to optimize you PLC logic and create better performing, leaner PLC applications. Let's start this tip by taking a look at the MOVE instruction below.

You probably know that the EN input of the blog is the enable input. In other words, if the conditions on the left of the EN are true, then the instruction - e.g. the MOVE instruction - will be executed.
But have you ever wondered what the ENO output is used for (that's the letter 'O' in the end by the way, not a 'zero')? The ENO stands for enable output and can be used as a continuation of the input enable in case the instruction is executed without faults. And here's the important part - this validation of instruction errors requires processing power.
Now, the good news is that for any new instructions added in TIA Portal, the ENO check is automatically disabled (to increase performance). The bad news is that when you migrate a Step 7 application from Simatic Manager to TIA Portal, the ENO check is enabled by default. So what we need to do to improve the performance of our migrated application, is manually disable each one of these ENO validations. Luckily, this is a very easy task and is executed as follows:
STEP 1 Right-click on the instruction
STEP 2 Select 'Do not generate ENO'
 Disabling the ENO validation for a MOVE instruction
Easy, right? If you do this for all your instructions after migration, you'll definitely end up with a fitter PLC application with less unnecessary validation weight to drag around.
I'd like to finish this optimization tip with an important programming consideration (that some PLC programmers get wrong). If you disable the ENO output validation, it means that all logic to the right of this instruction will be executed.
 Disabling the ENO validation for a MOVE instruction
Disabling the ENO does not mean that the ENO will always be 'FALSE', it's actually the exact opposite - the ENO will always be 'TRUE' because you're not validating the correctness of the instruction anymore. It's an important distinction to keep in mind.
Now on to the next tip!
OPTIMIZATION 6 - Replace Pointers
If you're part of the Simatic Manager generation like myself, and got experience with indirect addressing, the command "SLD LAR1" probably brings back fond memories for you. Indeed, this was the method employed in classic Step 7 for creating pointers. Pointers serve to reference memory areas, data blocks, inputs, outputs, or various elements, facilitating dynamic access and manipulation during runtime. They allow you to specify both the starting point and the length of the data you wish to access.
In classic Step 7 applications, pointers are frequently utilized for accessing elements within arrays. However, a notable drawback of traditional pointers, as employed in Simatic Manager, is their complexity, making them challenging to read and troubleshoot. The use of STL language for creating these pointers and for performing read/write operations with them tends to be somewhat abstract.
Therefore, if your classic Step 7 application incorporates pointers for array element access, it is advisable to consider modifications post-migration. Specifically, I would strongly advise you to eliminate these array pointers (and the associated SCL code, as highlighted in optimization tip 7), and instead, employ an index tag for accessing array elements. This approach simplifies the code, enhancing both readability and maintainability.
 Indirect addressing using pointers (Simatic Manager) vs. using an index tag (TIA)
The left image in the above example illustrates how a classic pointer setup in Simatic Manager is created using a dynamic tag (#i_iPosition) to move 2 tags from an array element to an output. The right image showcases the converted logic in TIA Portal where the dynamic tag '#i_iPosition' is used as an index tag to access those same 2 array tags.
Wouldn't you agree that the right image is much easier to read than the left image? Switching to index tags when using arrays simplifies everything, completely doing away with the hassles of pointers. Now, what was I saying about STL language...?
OPTIMIZATION 7 - Replace STL Logic by SCL Logic (or LAD/FBD)
Let's keep this one short and to-the-point: Statement List (STL) is a language originating from the Simatic Manager era, and it remains in TIA Portal solely for compatibility purposes. After migrating your project, eliminate any STL language from your logic. Instead, opt for Ladder Logic (LAD - my personal favorite), Function Block Diagram (FBD), or Structured Control Language (SCL).
 STL programming in Simatic Manager (Classic S7) vs. SCL logic in TIA Portal
For new projects or projects being migrated from older systems, Siemens itself "encourages not to use STL, but to consider the use of other languages provided by TIA Portal that might offer better readability, easier troubleshooting, and overall more efficient project development and maintenance". I couldn't have said it any better.
Are you ready for the grand finale? The one area where TIA Portal runs laps around Simatic Manager? Let's dive in...
OPTIMIZATION 8 - Add Structure to your PLC Application
If you've read some of my other blog posts, then you might have noticed that I talk a lot about building structured PLC applications. In fact, The main thing people tell me after taking my PLC or HMI courses is that they've really learned to structure their PLC and HMI projects well. I've seen too many programmers struggle with structure, which is why it's a frequent theme in my content.
If you've programmed with Simatic Manager before, you're aware that Classic Step 7 offers limited options for organizing your code. After building your application, you're left with an extensive list of various blocks (OBs, FBs, FCs, DBs, SFBs, UDTs, and so on), which isn't very orderly and makes it tough to quickly locate anything. When you migrate an application like this to TIA Portal, you'll initially be greeted with the same lengthy list. Fortunately, TIA Portal comes equipped with superior structuring tools to help you organize your PLC application effectively.
 Advanced structuring possibilities in TIA Portal
The screenshot above demonstrates the organization of an extensive list of blocks in TIA Portal through the creation of multiple program groups. In the given example, I've created the program groups '00 Machine', '01 Equipment' (each with a 'Functions' subgroup), and 'Global Data'. You can easily drag and drop blocks into these groups enabling you to develop a highly modular and structured PLC application that is both easy and quick to navigate.
If you'd like to know more about how PLC program structuring differs between Simatic Manager and TIA Portal, take a look at the first section of this blog post: 6 Key Areas Where TIA Portal CRUSHES Simatic Manager (S7 Comparison) (plcskilltree.com).
And that wraps up our time for today!
As illustrated in the 8 optimization tips above, you can make plenty of adjustments to your PLC program following migration. While each modification may appear minor by itself, collectively they can significantly reduce the workload on your PLC controller, resulting in a more efficient PLC application that delivers enhanced performance.
I hope you found this post enjoyable and enlightening to read, equipping you with valuable insights for your upcoming migration project in TIA Portal.
-Hans
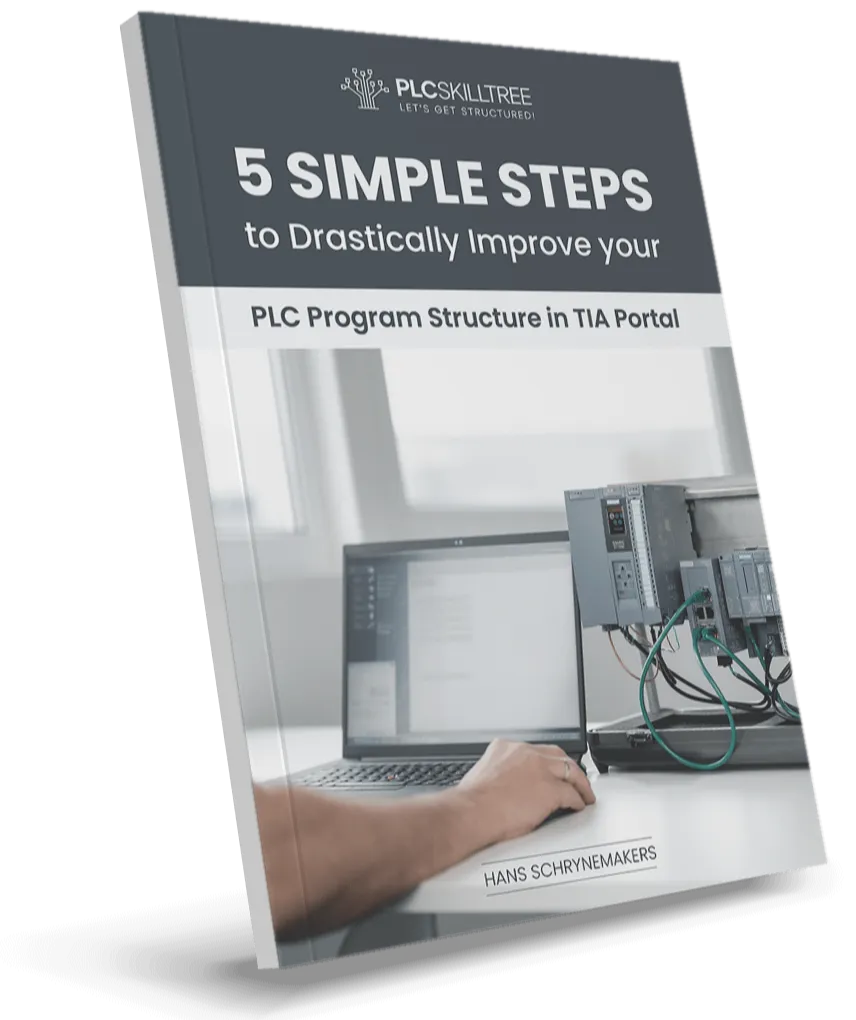
Download your FREE GUIDE NOW!
5 Simple Steps to Drastically Improve your PLC Program Structure in TIA Portal by Hans Schrynemakers
This is one of my most popular guides, and I’m happy to share it with you for free! Inside, you'll learn about:
- The #1 Way to Eliminate Messy PLC Programming in Just 5 Easy Steps!
- The Proven Method for Building Scalable, Future-Ready PLC Applications in TIA Portal.
- Discover How Modular Design and Structured Data Can Eliminate Costly Errors and Downtime.
- Break Free from Unstructured Programming - Build Clear, Modular TIA Portal Applications with Confidence.
- Master the Techniques that Separate Amateur PLC Programmers from Professionals.